
I have another easy nail art design for you today; the other day I was playing around and came up with a relatively easy way of doing a checkered nails using one of my favourite colour combinations: pink & black!
Products I used:
 |
| The Colour Workshop Top Coat (I also used a base coat and forgot to photograph it but they look exactly the same anyway! You can of course use whatever base and top coats you want to. A base coat is important to stop the colour staining your nails but a top coat isn't as essential but it helps the design last a bit longer! :)   First of all I applied 2 coats of the Collection 2000 pink nail polish to get a really opaque colour:  Then I used the nail art pen to draw black crosses on each nail using the long, thin brush (I think this actually looks like a cool design on it's own...maybe one day I'll just leave it as crosses on my nails because I think it looks quite interesting!  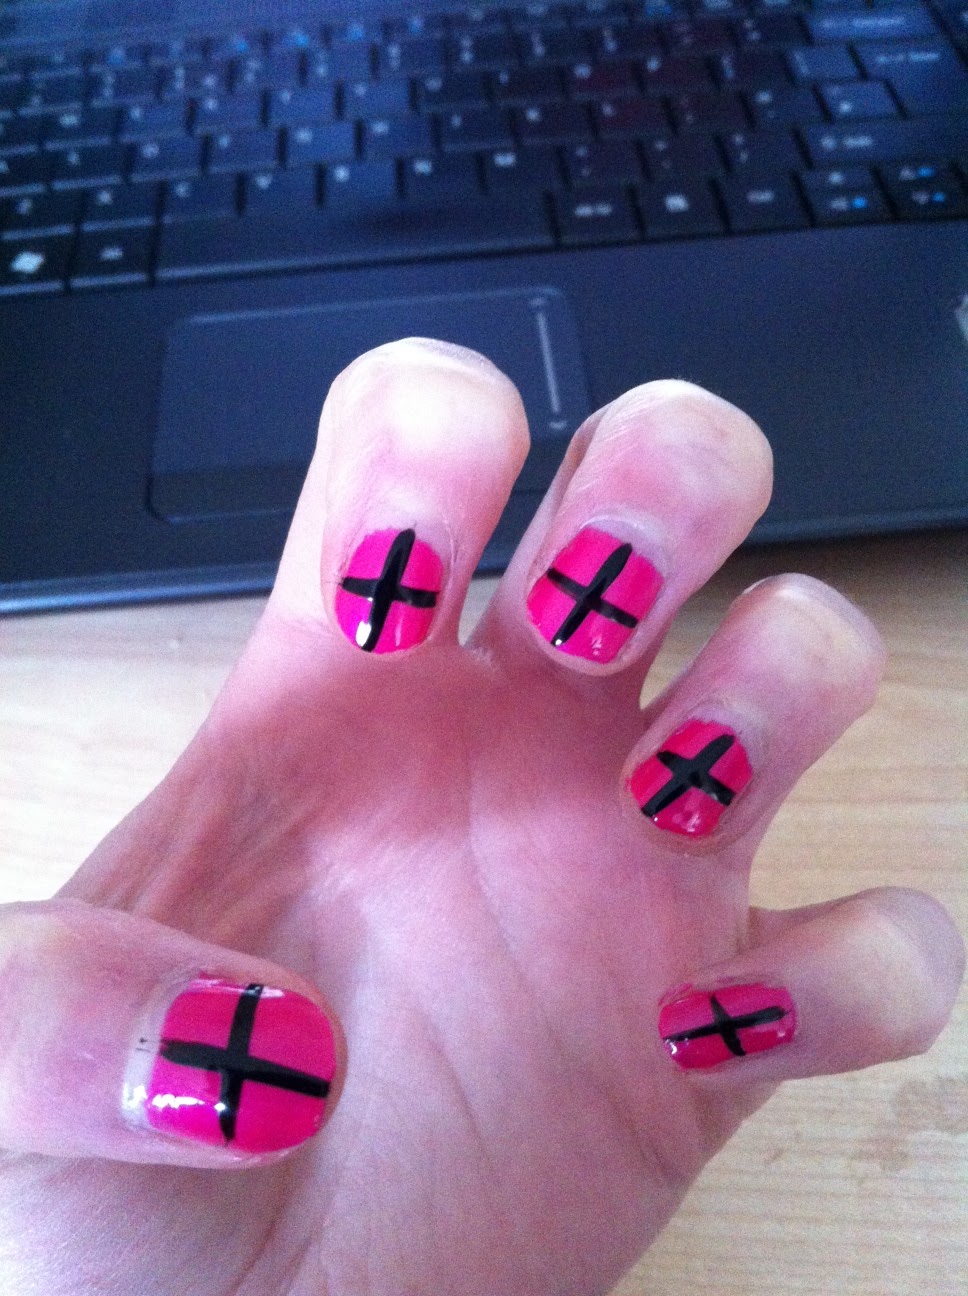 |
Then I just uesd the long thin brush again to fill in two sections of the cross. I've found that the squares at the top of the nail are easy to fill in whereas the squares at the bottom are slightly harder but as long as you take your time you can fill them in neatly!

And that's it! it looks pretty effective and you can do it with any different colour combinations (I also did white and black) and it looks interesting but doesn't take too many steps or products to achieve. The nail art pens take a while to dry but I think it's worth it!


Thank you for reading! Hope you enjoyed my little mini tutorial! :) What are your favourite nail designs?
Libby x
No comments:
Post a Comment